A keyline in photography is a thin border around the outside of an image, often used to help make the edges of the image distinct from the background it is displayed against. In our club we often see this used on projected images with black or dark backgrounds when projected. The keyline makes the bounds of our images clearer to the viewer. This tutorial will outline a simple method to add a keyline using Adobe Photoshop.
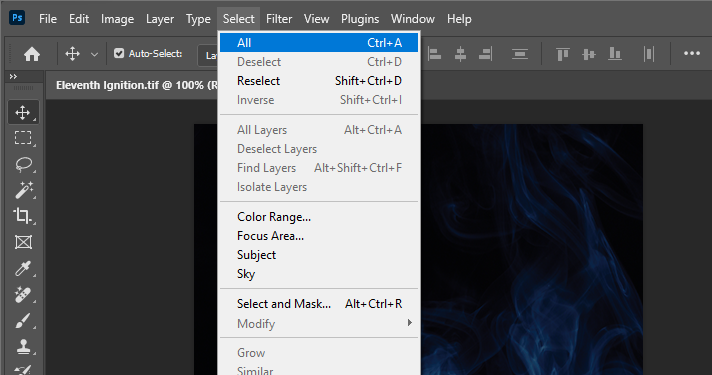
1. Open the “Select” menu and choose “All”. This will select the entire image, and outline it with marching ants (a dashed line).
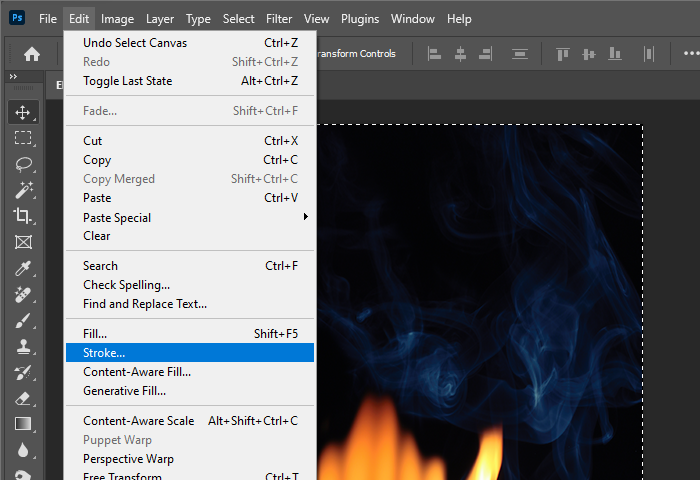
2. Open the “Edit” menu and choose “Stroke…”. This will open a pop-over where we can choose the options for drawing a line around the selected area.
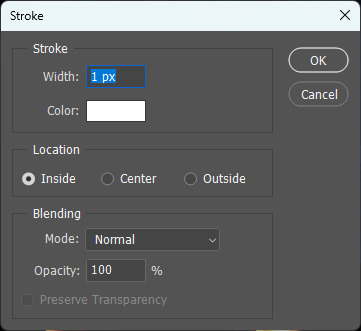
3. In the pop-over set the stoke width to “1px”, the stroke colour to “White”, and set the location to “Inside”. Then press “OK”. This will now draw a 1-pixel wide, white line around the selection, just on the inside of the marching ants.
You can now go to Select > Deselect (ctrl+d / command+d) to remove the marching ants. You should see the keyline. Of course, if you desire a different colour keyline or a slightly thicker line, this can be configured in the above pop-over.

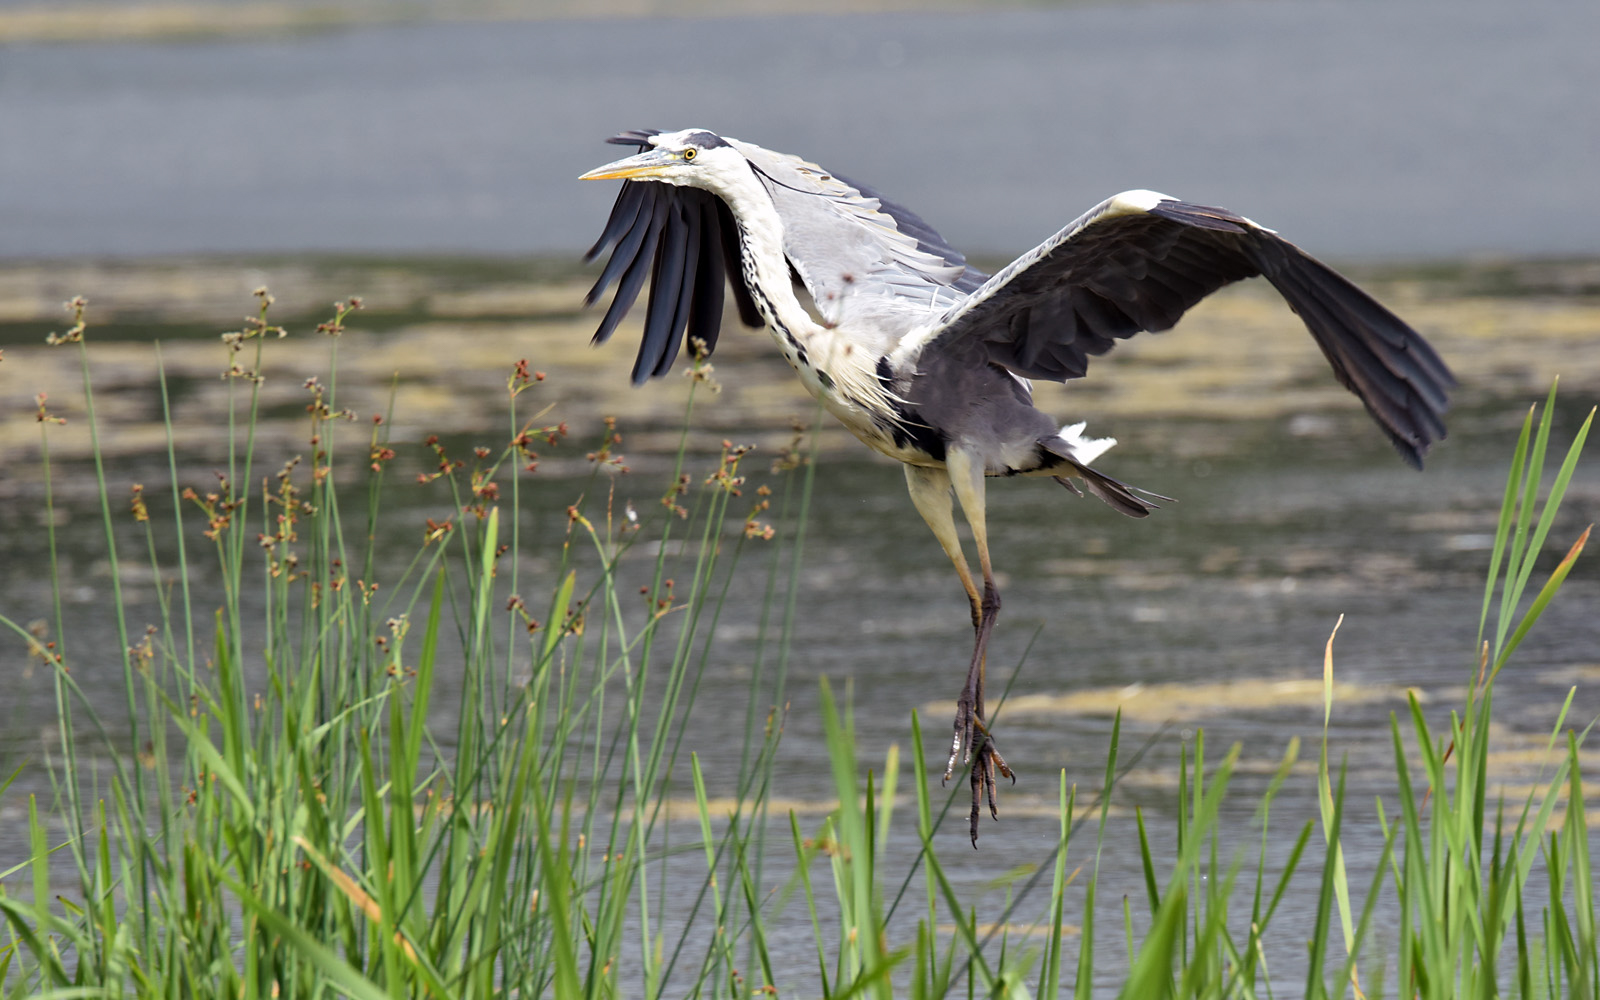
Above is a before and after adding a white keyline against a black background.